There are many benefits to grilling—you don't have to heat up your whole house to do it, there are fewer pots and pans to clean, and, for many of us, it's a lot of fun and a great way to entertain family and friends. But grilling can be tricky. Here at the test kitchen, our test cooks have been developing grilling recipes for years. We know that grilling is not as simple as turning up the heat and throwing food on the cooking grate, so we've compiled our expertise and offer our best tips here. You'll learn which grill is right for you (charcoal or gas), and we'll walk you through how to set it up, step by step.
Cooking Tips
Grilling Basics: Setup, Safety, and More
Raise your grilling game with tips and techniques from the grilling professionals.
Published Aug. 30, 2023.

Sign up for the Notes from the Test Kitchen newsletter
Our favorite tips and recipes, enjoyed by 2 million+ subscribers!
America's Test Kitchen will not sell, rent, or disclose your email address to third parties unless otherwise notified. Your email address is required to identify you for free access to content on the site. You will also receive free newsletters and notification of America's Test Kitchen specials.
4 Best Practices for Grilling (Charcoal and Gas)
Whether you're new to grilling or just need a refresher, review these tips before you start playing with fire.
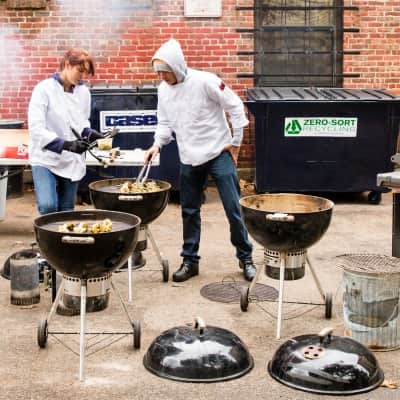
1. Location Is Everything: We recommend setting up your grill at least 10 feet from your home on a flame-safe surface. This means yes to driveways or patios and a hard no to grass or a wooden deck. (Make sure to put the grill away from where children and pets might wander.)
2. Cleanliness Counts: Whether you’re using a gas grill or charcoal grill, the interior basin of your grill needs to be cleaned a few times each season to wash away built-up food matter. If not, you risk the chance of having food matter ignite or lend off-flavors to whatever you’re cooking. (Don’t forget to empty drip pans and ash-catchers frequently to reduce mess.)
3. Food Safety Matters: In our book, Master of the Grill, we share dozens of tips on how to prevent cross-contamination. Here are three things you should always do: Use separate platters for raw and cooked foods, dispose of extra marinade, and apply sauces to meat after it’s done cooking to keep your basting brush from becoming contaminated by uncooked meat.
4. Only You Can Prevent Flare-ups: Fat or excess use of oily marinade dripping off the meat can catch fire and cause flare-ups, which can give your food a sooty taste. Trim meat carefully, and if any foods have been marinated with oil, pat them dry with paper towels before grilling.
400+ Grilling Recipes!
Master of the Grill
Whether you’re new to grilling or consider yourself a genuine pit master, Master of the Grill is perfect for you. We've divided this book into three sections (The Basics, The Easy Upgrades, and Serious Projects) to help you find recipes that suit your level of grilling.Shop Now
Gas or Charcoal: Which Is Better?
It depends on your needs and preferences.
Gas grills light and heat quickly and thus are more convenient. Charcoal typically burns hotter than gas and produces a lot of radiant heat, which results in superior browning on your food. Some people prefer the more assertive "grilled" flavor that charcoal's heat and smoke provide to foods; others prefer the cleaner flavor of foods cooked on gas grills. If you like to slow-smoke foods using wood, charcoal grills produce better results.
How to Set Up a Gas Grill
Here’s how to get a fire going on a gas grill. (Note: We recommend you read all instructions in your owner’s manual thoroughly, and follow the directions regarding the order in which the burners must be lit.)

Equipment Review
The Best Gas Grills
It doesn’t matter how powerful a grill is. If it can’t distribute and hold the heat where you want it, your food will suffer.Read Our Review

1. Check Propane Level: If your grill is equipped with a gas gauge or tank scale, check to make sure you have enough fuel. If your grill doesn’t have a gauge, bring 1 cup of water to a boil in a tea kettle or saucepan and then pour boiling water over the side of the tank. Then, place your hand on the tank. If the water warms the tank, that means the tank is empty. If the tank remains cool to the touch after you’ve poured hot water on it, then there is enough fuel inside.

2. Light with Lid Up: Turn the burners to high and ignite. Lighting the grill with the lid down can trap gas and cause a dangerous explosion of fire. This is why you should always light the grill with the cover open.

3. Cover Grill and Get Grate Hot: Once your grill is lit, cover it and let it heat for about 15 minutes. Most grills reach their maximum heat level within 15 minutes, but you may need to give your grill a few extra minutes on a cold or windy day.
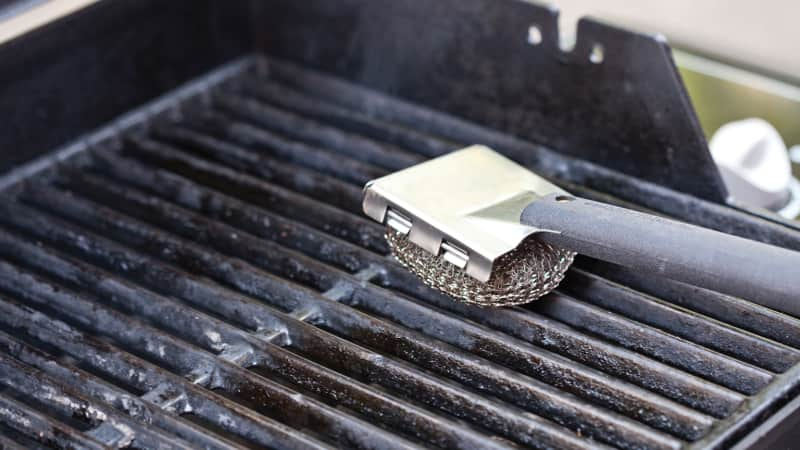
4. Scrape Grate Clean and Then Slick It Down: Once your grill is hot, scrape the cooking grate clean with a grill brush to remove any burnt-on residue. Next, using tongs, dip a wad of paper towels in vegetable oil and wipe the grate several times.
You can repeat the heating and oiling process as many times as needed (for most food, you only need to do this once if you keep your grill clean). For fragile foods like fish fillets, we recommend heating and oiling two or three times.
How to Set Up a Charcoal Grill
A charcoal grill offers some advantages over a gas grill, such as more options for creating custom fires and a better ability to impart smoke flavor. Here’s how to get a fire going on a charcoal grill.
Equipment Review
Charcoal Grills
We’ve happily made do with Weber’s basic kettle for years. But would newer, more tricked-out charcoal cookers be worth the upgrade?Read Our Review
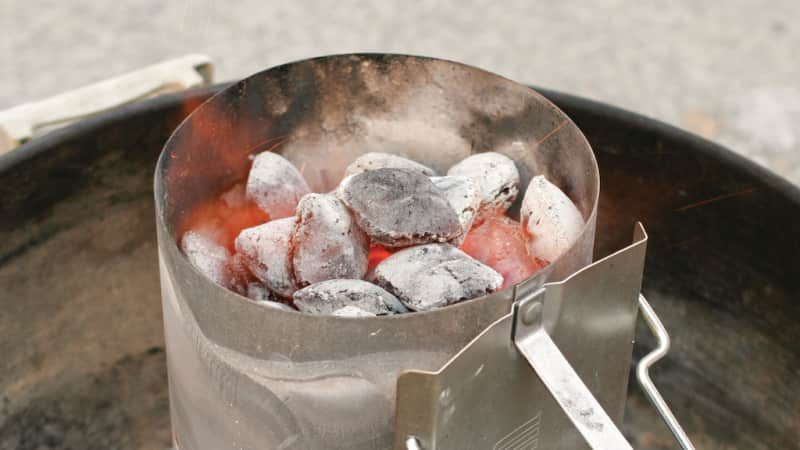
1. Get Coals Hot: Remove the cooking grate from the grill and open the bottom grill vent halfway or completely, according to the recipe. Fill the bottom section of a chimney starter with crumpled newspaper, set the starter on the charcoal rack, and fill the top of the starter with charcoal briquettes according to the recipe. Ignite the newspaper and allow the charcoal to burn until the briquettes on top are partly covered with a thin layer of gray ash.

2. Get Grate Hot: Empty the briquettes onto the grill and distribute as indicated in the recipe. Set the cooking grate in place, cover, and heat the grate for about 5 minutes, but no longer, or the fire will start to die.

3. Scrub Grate Clean: Use a grill brush to scrape the cooking grate clean. You wouldn’t cook in a dirty pan, would you?

4. Slick Down Grate: Using tongs, dip a wad of paper towels in vegetable oil and wipe the grate several times.
Briquettes or Lump Charcoal: Which Is Better?
There's not a tidy answer here.
Briquettes are widely available, burn hot (hotter than lump in our tests, which was a surprise to many), and are cheaper and burn longer than lump.
Some people think that lump charcoal is healthier (briquettes include additives and binders), but in talking to experts, we haven't found conclusive evidence on either side of the issue.
Our recommended lighting method for both types of charcoal is to use a chimney starter. We are not fans of lighter fluid, which can give food an unpleasant flavor.